Build Your Balcony Composter, Step by Step

Today’s chosen theme: Step-by-Step Balcony Composter Assembly. Follow a clear, friendly walkthrough to set up a tidy, odor-free composting station that fits your balcony and lifestyle. Subscribe for follow-ups and share your setup questions in the comments!

Map Your Space and Choose the Right Composter

Grab a tape measure and note width, depth, and railing height. Confirm building or HOA guidelines on balcony storage. Identify a sheltered corner at least a shoe-length from drainage channels to avoid blocking water flow during storms.

Map Your Space and Choose the Right Composter

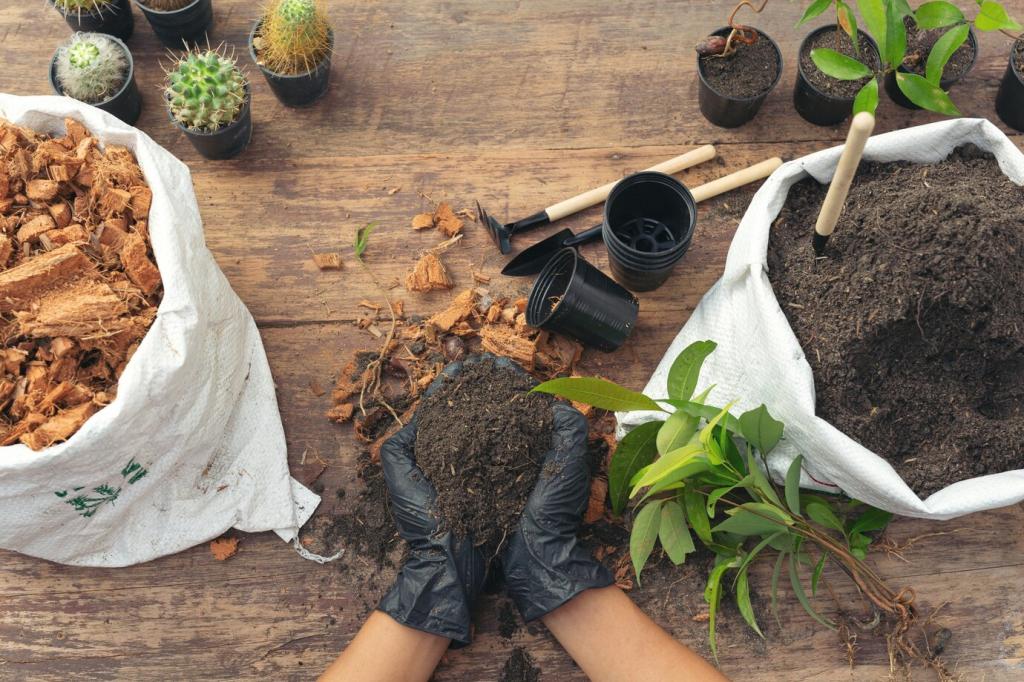
For low effort, choose an aerated static bin with layered browns and greens. If you enjoy tending, a small worm farm excels at rapid processing. Tight spaces often benefit from stacked crates or a slim tote with a snug lid.

Ventilation: Design Airflow Without Mess

Drill a Thoughtful Hole Pattern

Mark a grid of side holes roughly every 5 centimeters, plus a few on the lid and near the top rim. Avoid the bottom center to reduce leachate drips. Clean burrs so airflow is smooth and plastic shavings don’t contaminate your first layers.

Create Internal Air Channels

Lay two narrow slotted PVC strips or sturdy twigs along the base to form tiny tunnels. These keep the lower layer from compacting, helping oxygen reach deeper sections. Air channels reduce anaerobic smells and improve the compost’s even breakdown.

Add Bug-Blocking Mesh Inside

Cut fine stainless or fiberglass mesh to size and secure it over interior side vents using stainless screws or non-toxic adhesive. Mesh prevents fruit flies and gnats from finding a home while keeping your airflow steady, reliable, and quiet.

Leachate Control: Keep Liquids Tidy

Raise the Bin and Use a Catch Tray

Place the bin on bricks or plastic risers inside a shallow tray. The elevation improves airflow under the bin, and the tray collects stray moisture. Empty the tray weekly, and wipe it with vinegar water to keep everything fresh.

Optional Drain Tap for Easy Maintenance

If your container allows, install a small tap near the lower side. Pre-drill a snug hole, fit a rubber washer, and hand-tighten. Test with water first. A controlled drain makes it simple to remove excess liquids without lifting the bin.

Balance Moisture from Day One

Aim for the feel of a wrung-out sponge. If too wet, add shredded cardboard or dry leaves. If too dry, mist with water from a spray bottle. Consistent moisture prevents smells, keeps microbes happy, and protects nearby surfaces.

Secure Lid, Latches, and Weatherproofing

Choose a lid that closes without rattling in the wind. If needed, add a thin weather strip to improve the seal while still allowing gentle airflow from drilled lid vents. A secure lid prevents gusts from scattering lightweight browns.

Secure Lid, Latches, and Weatherproofing

Keep a jar of shredded cardboard near the bin. Every time you add greens, cover with browns immediately. This simple practice is the best odor control. Mesh-covered vents and a tidy rim keep fruit flies searching elsewhere for dinner.

Placement, Weight, and Neighbor-Friendly Etiquette

A full small bin can weigh 20–35 kilograms, depending on moisture. Confirm your balcony’s load limits and avoid clustering heavy items along one edge. Using risers spreads weight more evenly and keeps airflow underneath the bin base.

Kickoff Checklist and Ongoing Rhythm

Add your base browns, inoculant, and a first thin green layer. Cap with browns. Note the date on masking tape. Snap a photo and share it with us—tell us your balcony size and city so fellow readers can cheer you on.

Kickoff Checklist and Ongoing Rhythm

Every time you add kitchen scraps, cover with twice as much shredded cardboard or leaves. If it smells, add more browns and fluff gently. Keep a weekly reminder to stir lightly and check moisture, airflow, and the catch tray condition.
Digitalsuccessconcepts
Privacy Overview

This website uses cookies so that we can provide you with the best user experience possible. Cookie information is stored in your browser and performs functions such as recognising you when you return to our website and helping our team to understand which sections of the website you find most interesting and useful.